
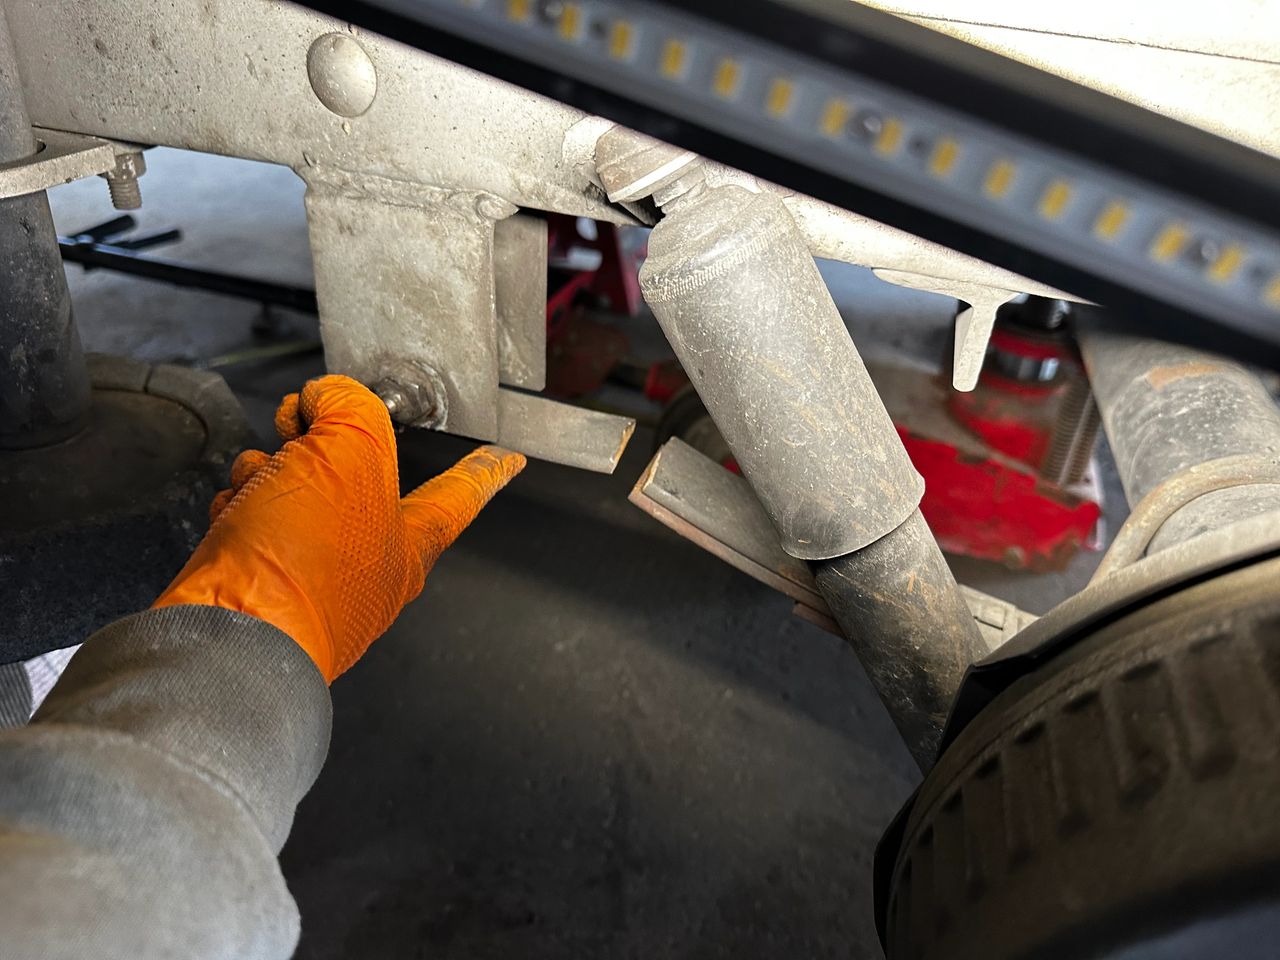
The OEM leaf springs on our Oliver Trailers are components that wear over time. Our 2019 Elite II OEM spring set was rated for 1750 lbs each (3500lb/axle). All 4 equate to the 7000lb GVW of the trailer. Keep in mind, the weight distribution in the trailer isn't always equal sided to side and front to back.
The constant bouncing and bumps on rough roads cause the leaves in the spring set to lose their strength and eventually the leaves start to sag or flatten under load.
Like other Oliver owners we've had the unfortunate case where one of the leaf springs breaks at some point. In our case it was after some rough roads in Maine, where we crossed over 6\5K miles on the trailer.
We were fortunate that we carried a spare set of springs in our bumper and could easily limp into a Maine Trailer Shop to have a repair completed.
After getting home after that 2024 season we decided we wanted to upgrade to higher quality US Made springs.
The Alcan Springs Oliver Solution
We recently visited Alcan Springs in Grand Junction Colorado and had them install their 4-leaf spring pack for Oliver 3500lb axles installed. These are being tested now by Oliver for installation on their 2026 Model trailers.
.jpeg/:/cr=t:0%25,l:0%25,w:100%25,h:100%25/rs=w:1280 "Customer Entrance for Alcan")
Alcan originated in a shop on the ALCAN highway making springs for heavy trucks during the construction of the highway. Over time the original owner sold the business and they are now located in Grand Junction CO. They are a shop custom designs, builds and installs or ships spring packs for all kinds of vehicles.
What makes their springs unique is that they are designed specific to each vehicle / trailer and are made out of US steel stock, hand forged, shaped and matched and assembled to exacting standards.
Custom Spring Build Process
If you want to look at the process on You Tube take a look at the 1:10-3:46 point in this video:
https://www.youtube.com/watch?v=J9oVN-7sr8s
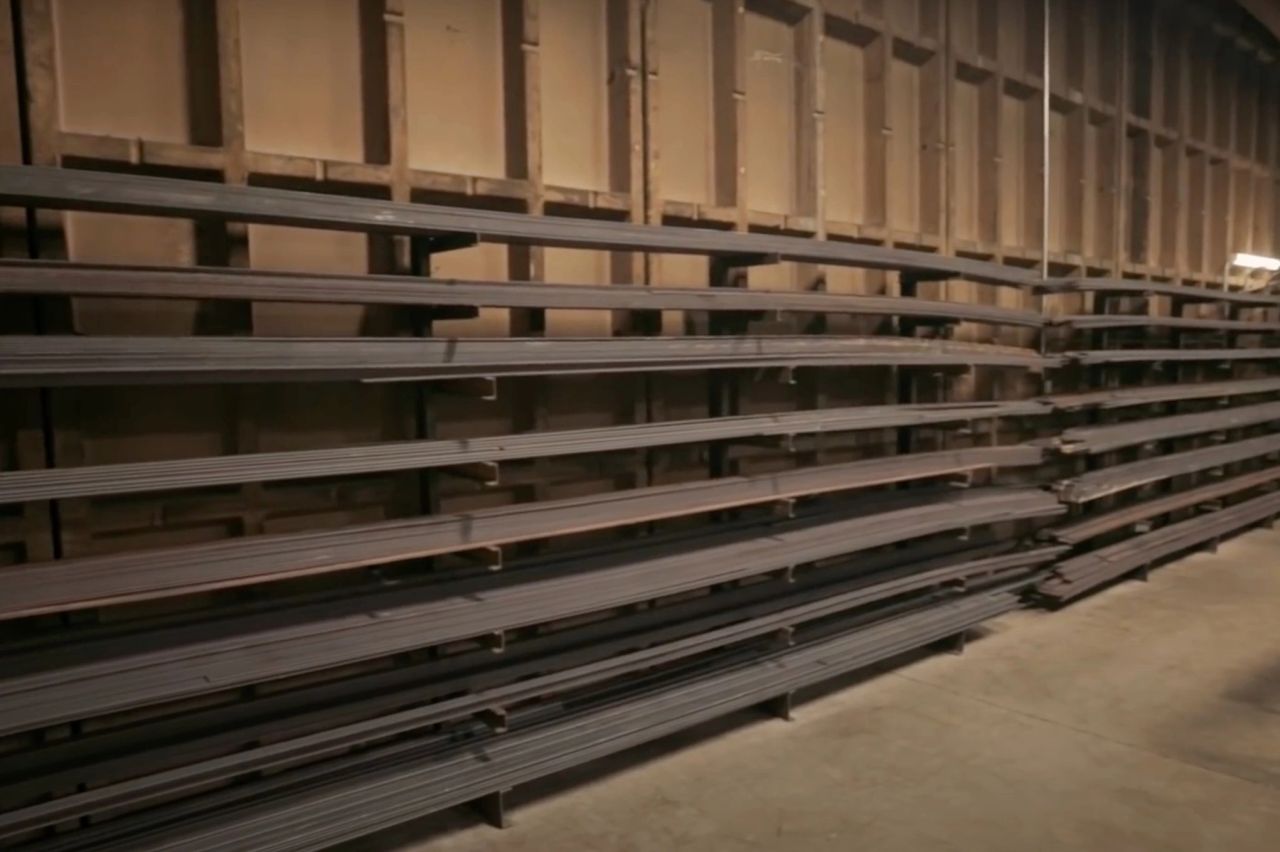
The process starts with US Made Chicago raw 5160 spring steel stock as shown below.
The next step is to cut the steel into proper lengths for the specific spring stack.
.jpeg/:/cr=t:0%25,l:0%25,w:100%25,h:100%25/rs=w:1280 "Spring Steel Cut to Length")
The main spring is the longest in the pack and must be custom forged and have the eyes formed to accept future bushings.
.jpeg/:/rs=w:1280)
In the next 3 pictures, the main spring is re-fired and then put on the straightening fixture, then the shaping jig and finally quenched then run through the tempering oven one last time which changes the molecular structure of the steel to make the spring as strong as possible.
.jpeg/:/rs=w:1280 "Oven on Right - Straigtening Fixture Left")
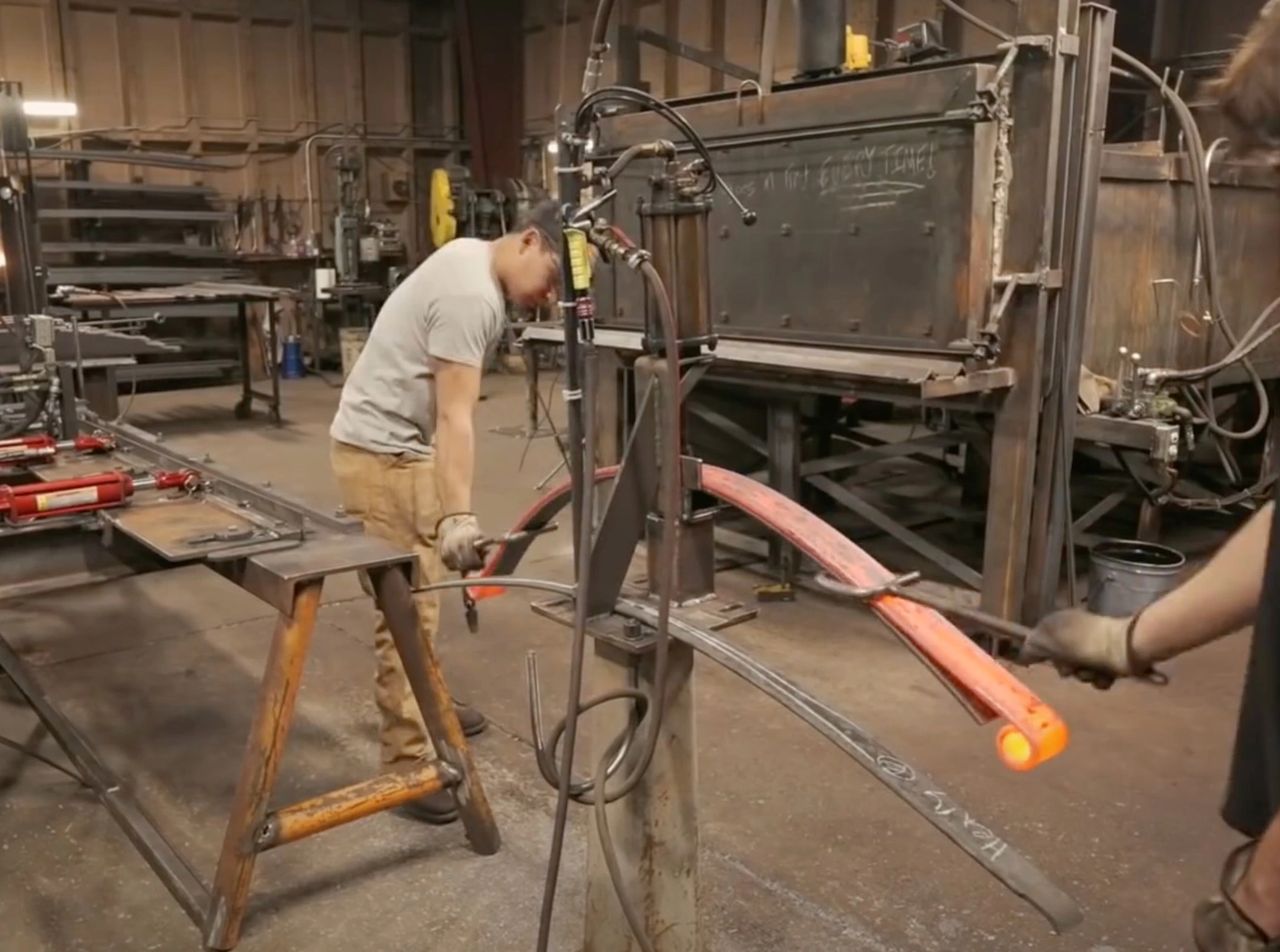
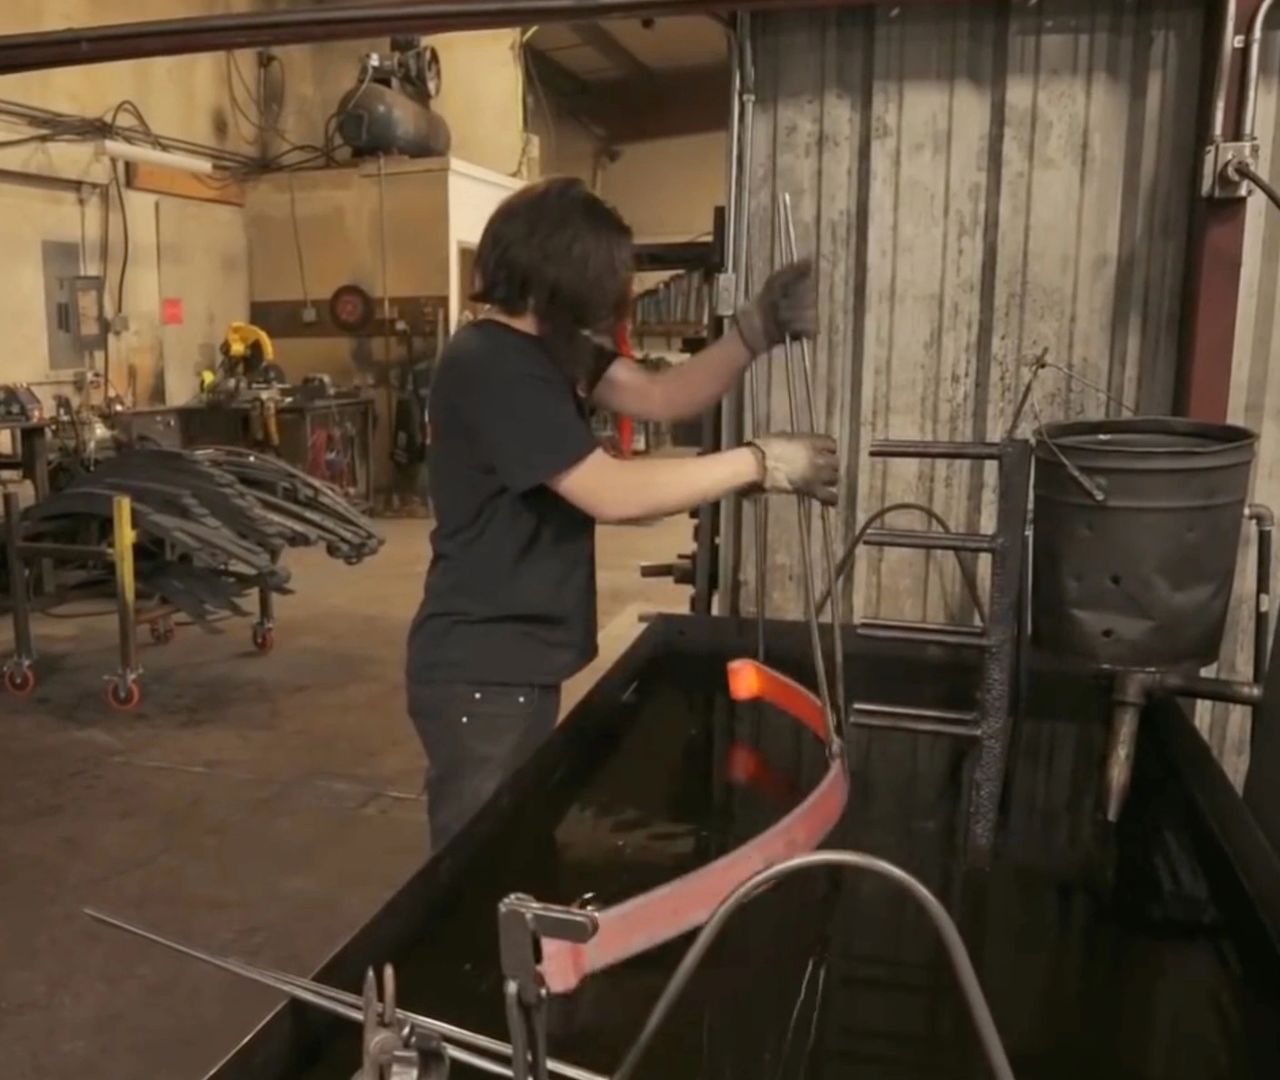
The remaining leaves in the stacks are assembled for each custom order as shown below, Every leaf in the stack must also go through the firing, straightening, arching, quenching and tempering oven process. This is a time consuming hand manipulated process.
.jpeg/:/cr=t:0%25,l:0%25,w:100%25,h:100%25/rs=w:1280 "Springs in full stack ready for assembly.")
The next steps include assembling the spring packs, putting anti-friction pads between each leaf and putting on the clamps for each spring pack.
.jpeg/:/rs=w:1280 "Hand assembly of the Spring Pack")
Finally, each spring pack is painted with rust preventative black paint in a dip process and they dried for 24 hours.
.jpeg/:/cr=t:0%25,l:0%25,w:100%25,h:100%25/rs=w:1280 "Spring packs awaiting labeling and shipment.")
The final step is to put oh the Alcan Logo and QR code so customers can easily get in touch with Alcan in the future.
.jpeg/:/cr=t:0%25,l:0%25,w:100%25,h:100%25/rs=w:1280 "Alcan Final Assembly")
Installation Day
Our installation day was amazing.
We arrived at out appointment time (7:30AM). They asked us to drop our trailer in front of their shop and said they would move it with their fork lift. They suggested we go have breakfast and that they would call/text us when it was ready.
We visited a well known breakfast restaurant, Puffer Belly next to the Grand Junction Amtrak station. This is know for huge cinnamon rolls and fantastic waffles and fruit plates.
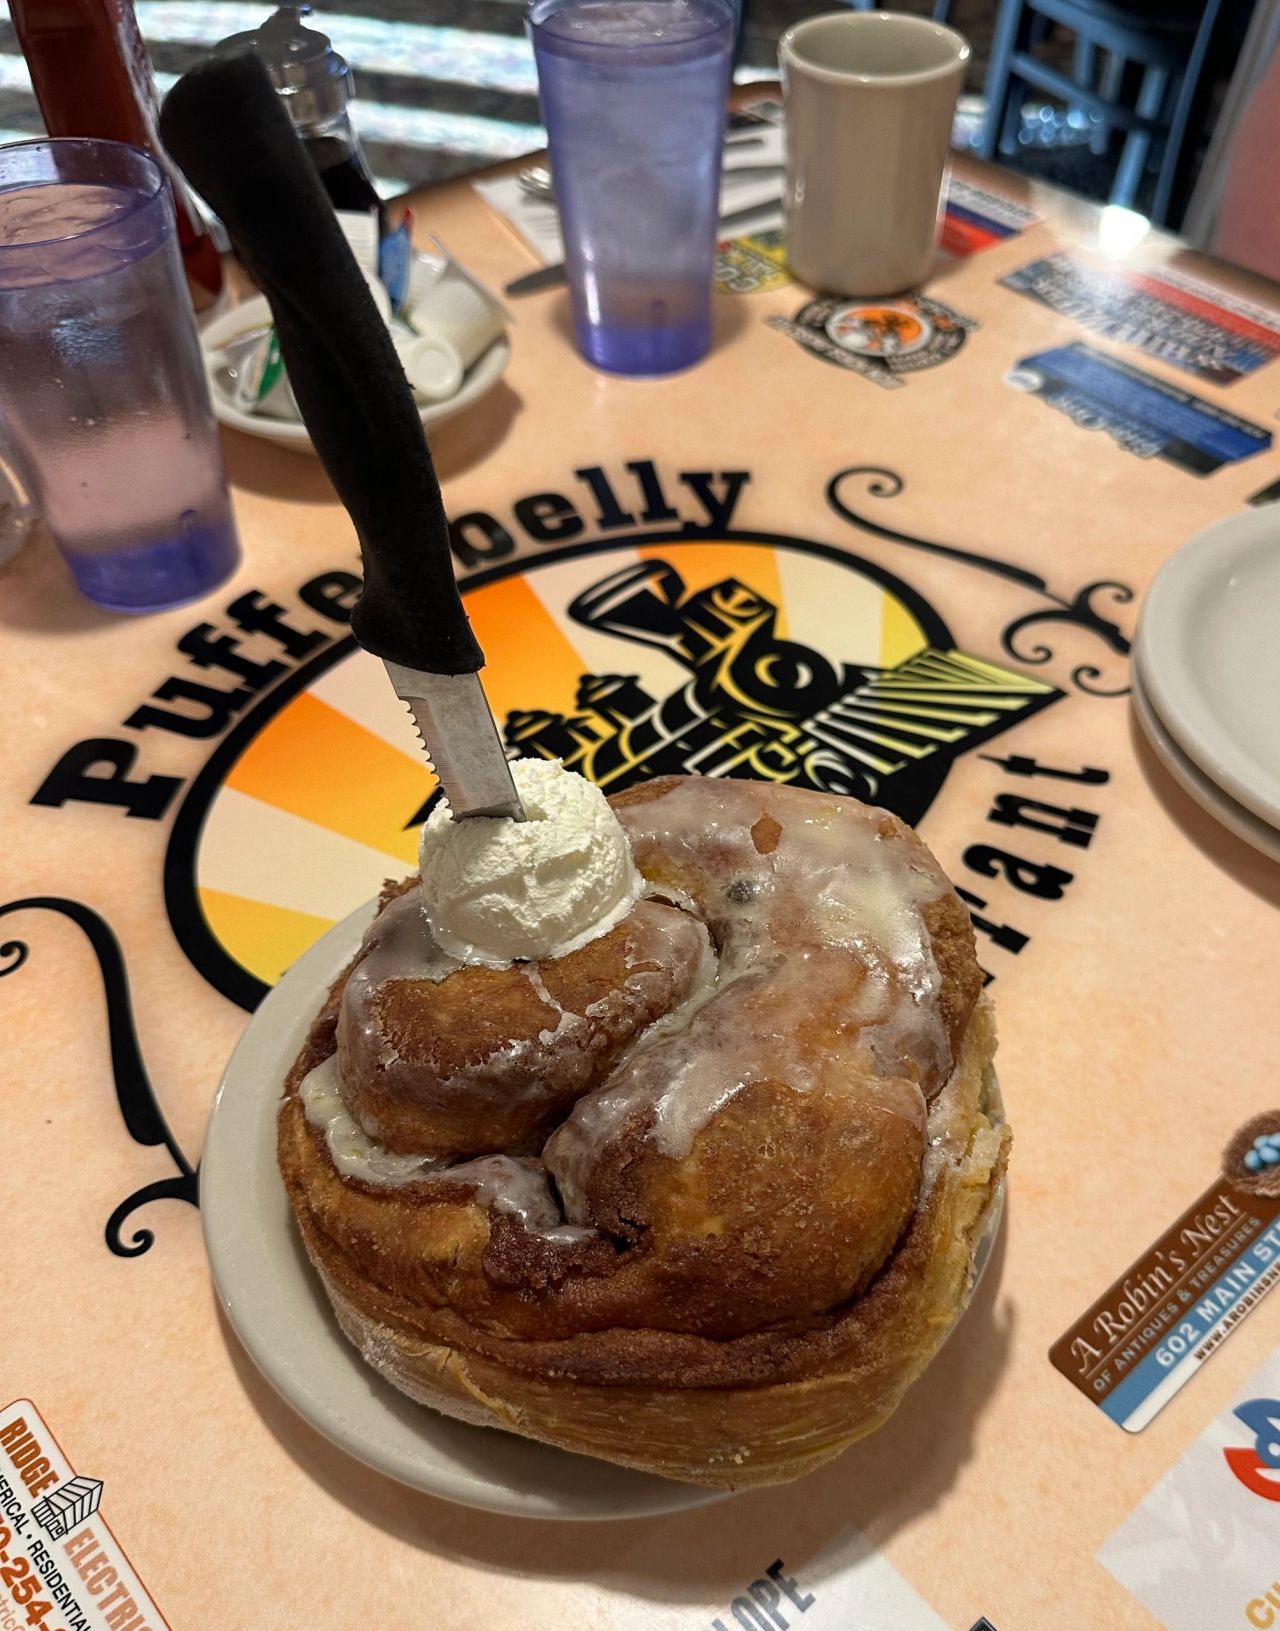
After breakfast we were able to get a quick haircut, and stop by a Lowe's to pick up a couple of deep sockets for our tool kit.
We were very surprised when at 10 AM Alcan texted us to come pickup our Oliver. The spring installation also included new Bulldog Shocks and new Dexter EZ Flex equalizers that we had brought with us for the upgrade.
The 4 pack springs are rated at 2250lb/spring or 4500 lb/axle. This is a bit stiffer than the original springs so we're also running our tires at a bit lower 50 PSI which is where they are rated for our trailer.
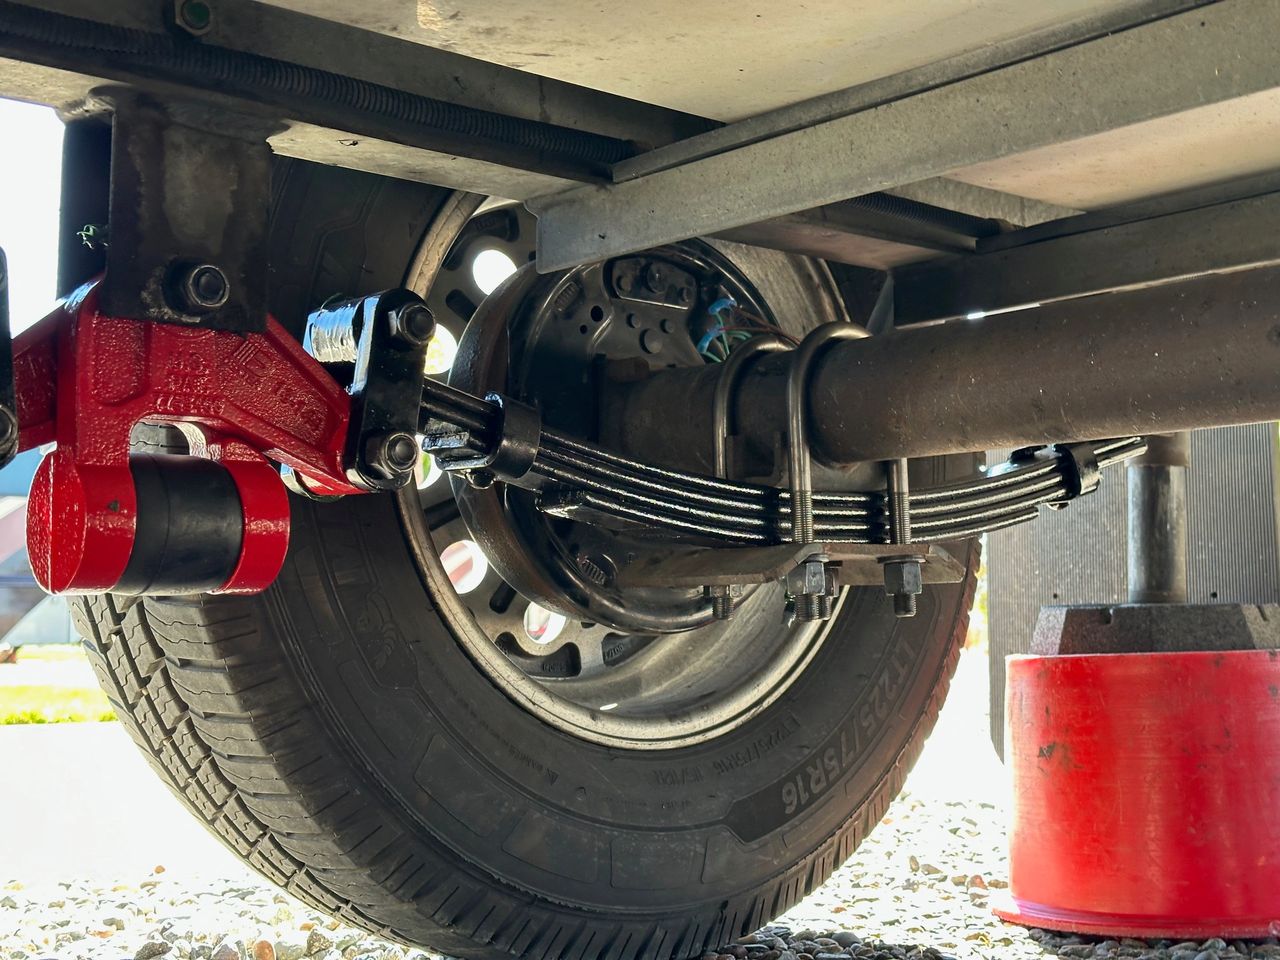
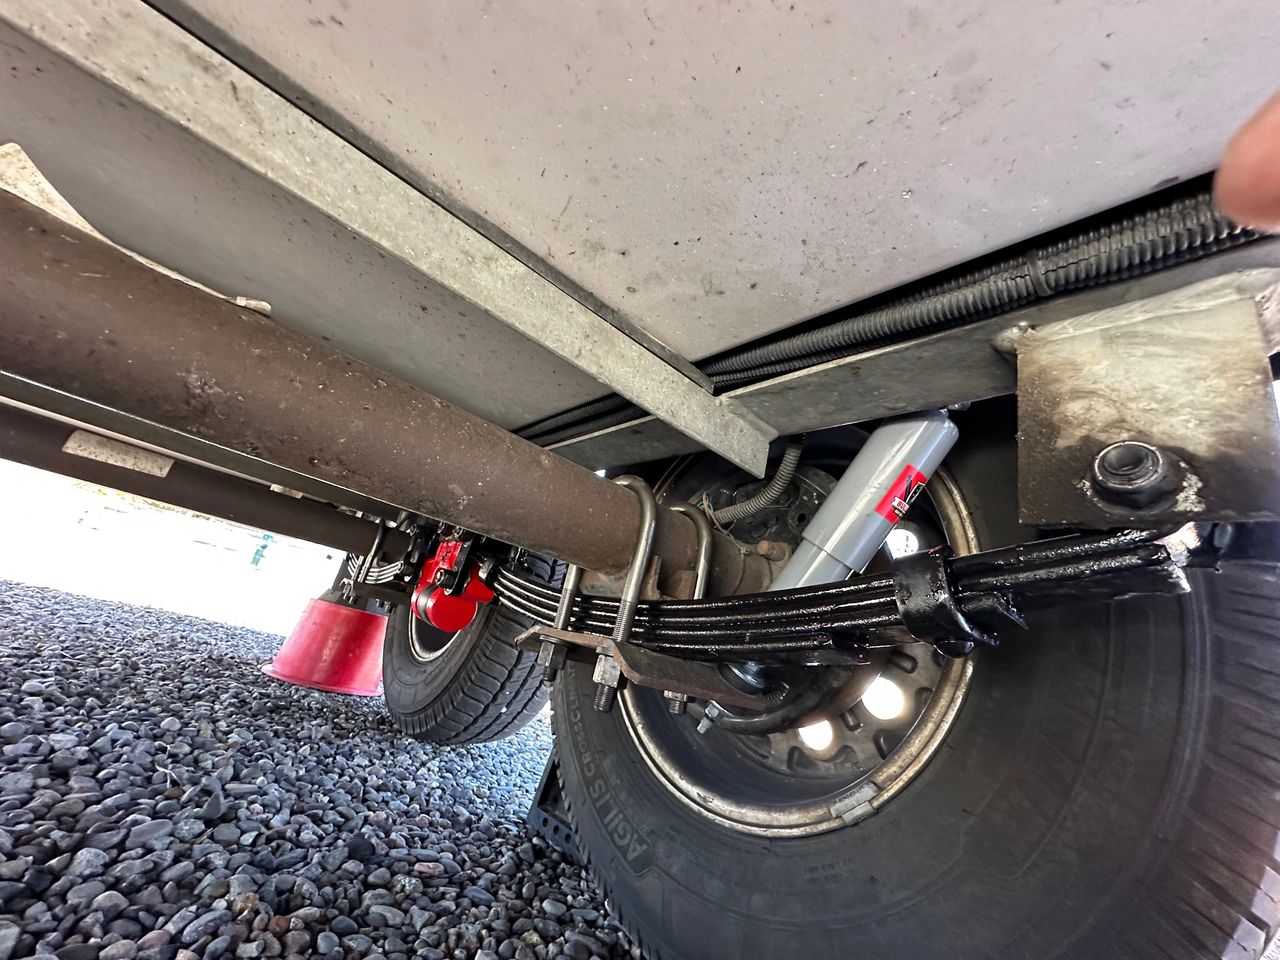
When we picked up our trailer they provided us an information sheet about our springs and specific instructions to re-torque the U-Bolts,Shackle Bolts and wheel nuts after 50,100 and 500 miles.
Tools for the re-torque job
U-Bolts:
You need a 22mm or 7/8” deep socket and 150ft-lb torque wrench for Ubolts
Shackle Bolts - Use a 21mm or 13/16” as backer wrench or standard depth socket on nuts outside of shackle and the same deep 22mm or 7/8" on the torque wrench for the inside nuts.
Mileage for re-torque:
Retorque u-bolts & shackles at 50mi, 100 mi and 500miles after installation, after that a yearly check.
Torques Values:
U-Bolts 90 ft-lbs
Shackles: 65 ft-lb (Note - use 21mm or 13/16” backing wrench on outside of shackles)
Also check lug nuts for your specific wheel specs at each interval as well.